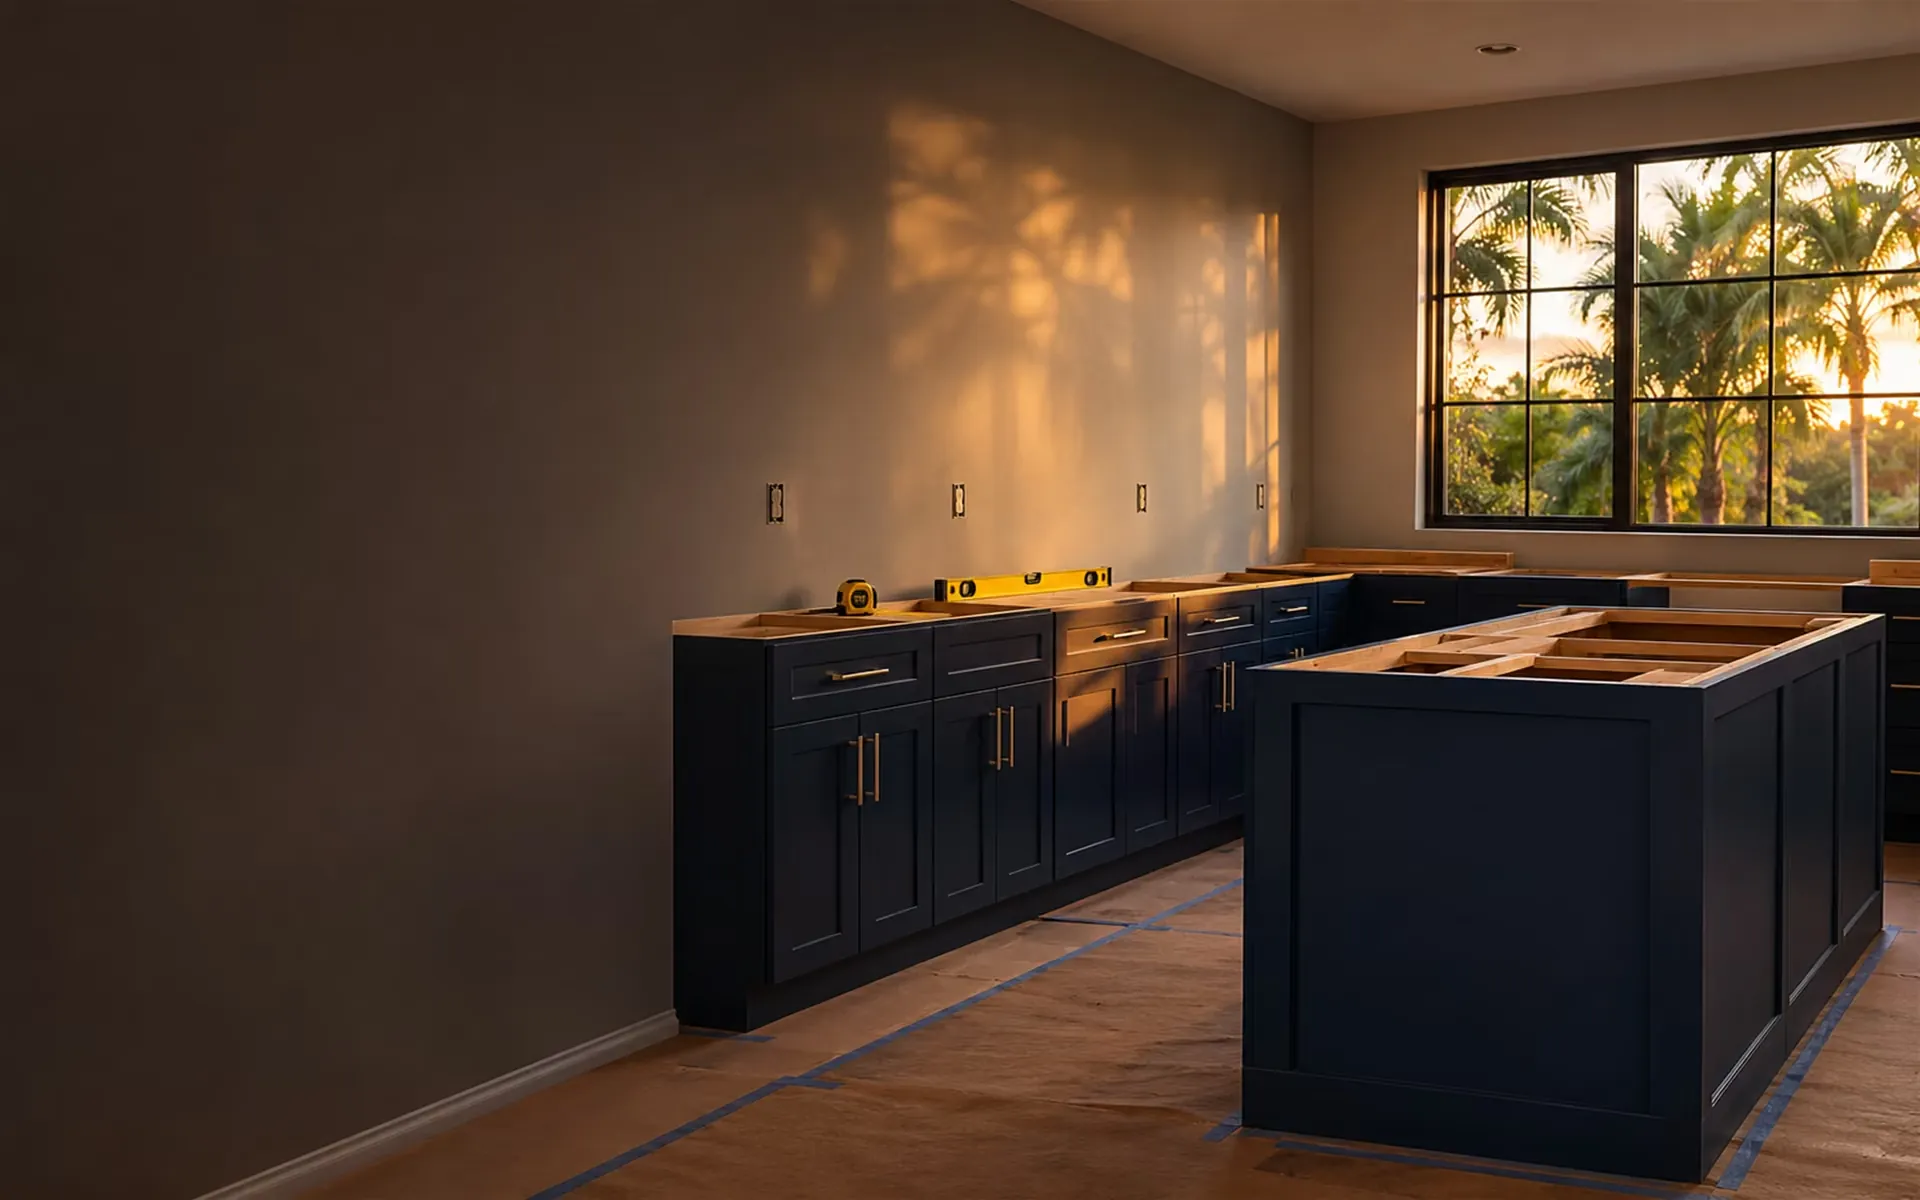
In this article
- The short answer
- Week by week overview
- Before week 1: planning
- Week 1: demolition
- Week 2: rough-in
- Week 3: walls and floors
- Week 4: cabinets
- Week 5: countertops
- Week 6: tile and fixtures
- Final days: walkthrough
- The 1 to 2 week update
- What causes delays
- Living through it
- Staying on schedule
- The bottom line
- Common questions
Ask three people how long a kitchen remodel takes and you will hear three different answers, usually with a story attached. The reason is that "kitchen remodel" can mean a two-week cabinet swap or a two-month rebuild with a new layout, and most of what decides the schedule happens before anybody picks up a hammer.
A kitchen touches almost every trade in the house: cabinets, countertops, plumbing, electrical, tile, drywall and paint. Each one depends on the one before it. When that order is planned, the work moves steadily. When it is not, you get what most people dread, which is a torn-up kitchen and nobody on site for days at a time.
We remodel kitchens across Orlando and Central Florida, so this guide lays out the same sequence we use on our own jobs, stage by stage. You will see what happens in each week, what you need to decide and by when, how to live in the house during the work, and what causes delays. Your own schedule will depend on your kitchen, but the order of operations holds for nearly every project.
How long does a kitchen remodel take?
Here is the short answer. The time on site depends mostly on how much is changing, and in particular on whether anything has to move.
| Scope | What changes | Typical time on site |
|---|---|---|
| Cabinet and countertop update | New cabinets, tops, backsplash and fixtures in the same layout | 1 to 2 weeks |
| Full remodel, same layout | Everything comes out and goes back in the same place, with updated finishes | Near the short end of 4 to 8 weeks |
| Full remodel, new layout | Walls, sink, range or island move, with new plumbing, electrical and drywall | Near the long end of 4 to 8 weeks |
Those numbers cover time on site. Planning, selections and ordering happen before that, and on a larger project they often take as long as the construction itself. It is the part of the timeline most people forget to count, and it is also where you have the most control.
The full remodel at a glance
The schedule below follows a full remodel with a new layout, near the middle of the 4 to 8 week range. Think of it as an example of the order of work rather than a promise. On a real job, we set your dates with you, in writing, before demolition begins.
- Before week 1Planning, selections and ordering
Layout, written scope and schedule, materials ordered, permits filed if needed.
- Week 1Protection and demolition
Dust barriers go up, the old kitchen comes out, and we check for hidden damage.
- Week 2Rough-in and inspections
Plumbing, electrical and any framing changes, then inspections if the job is permitted.
- Week 3Drywall, paint and flooring
Walls are closed and finished, and the new floor goes in when the plan calls for it.
- Week 4Cabinets
Uppers and bases are hung level and plumb, followed by the island.
- Week 5Countertops
Templates are made once the bases are set, then the tops are fabricated and installed.
- Week 6Backsplash, fixtures and appliances
Tile, sink, faucet and appliances are connected and tested.
- Final daysTrim, touch-ups and walkthrough
Finish carpentry, final inspections and a walkthrough with you.
Before week 1: planning, selections and ordering
This is the stage that decides whether the rest of the job goes smoothly. A good remodel starts long before demolition, with a clear written scope and timeline agreed with you before a single wall comes down.
Settle the layout first
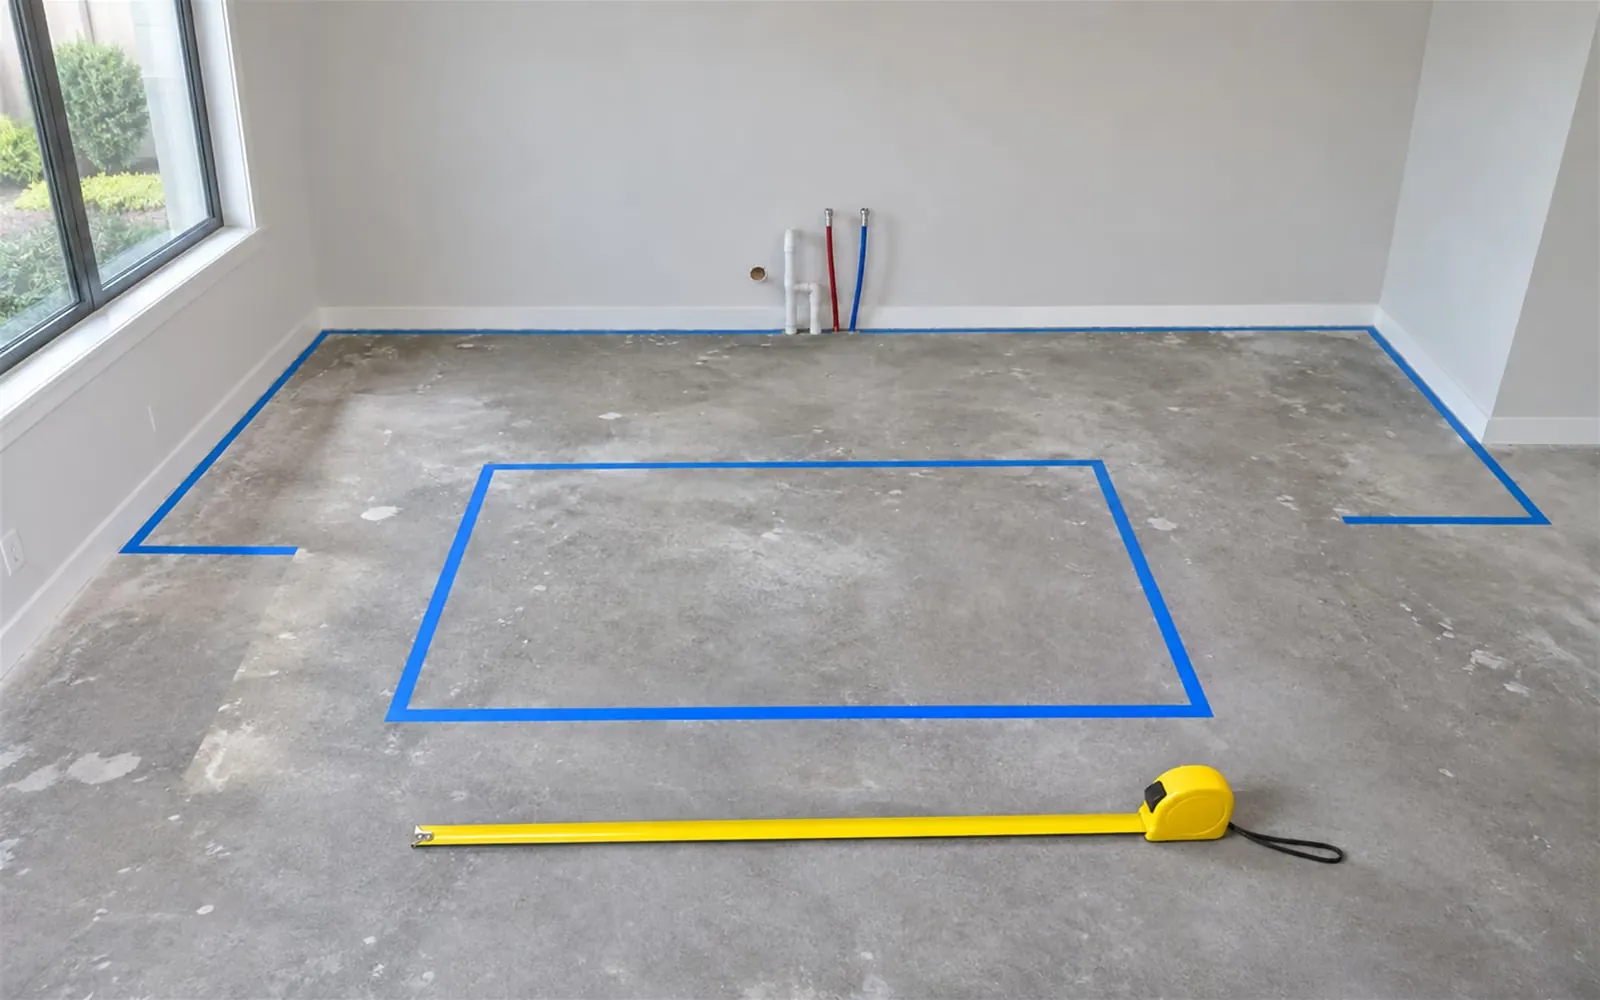
Start with how you actually cook and live. Where do people gather? Where do groceries land? Does the dishwasher door block the walkway when it is open? Measure your current kitchen and note what frustrates you. Then, if you can, tape the new layout on the floor and walk it for a few days. It feels a little silly, and it catches problems that are very expensive to find later.
Make your selections early
Every item below affects the work in some way, so each one should be chosen before demolition. Waiting until the old cabinets are gone means making rushed decisions in a kitchen you cannot use.
- Cabinet style, finish and hardware
- Countertop material and edge
- Appliances, with exact model numbers and dimensions
- Sink and faucet
- Backsplash tile and grout color
- Flooring, if it is part of the job
- Lighting, including any under-cabinet or pendant lights
- Paint colors
Appliance dimensions matter more than most people expect. Cabinets are built around them, and electrical and plumbing rough-in are placed according to them. A range that is an inch wider than planned can change an entire cabinet run. We guide layout decisions and help you choose cabinets, countertops, tile and hardware that fit your budget, and we coordinate with your suppliers and fabricators.
Order the slow items
Lead times vary widely by product and supplier, and they change throughout the year. As a general rule, stock cabinets arrive fastest, semi-custom cabinets take longer, and fully custom cabinets take longest of all. Special order tile, unusual sinks and certain appliances can also take weeks. Ask for a real delivery date on each item, and try to have the slow items on hand or firmly scheduled before the old kitchen comes out. That single habit prevents more delays than anything else on this list.
Sort out permits and approvals
Cosmetic updates often do not need a permit. Moving plumbing or electrical and making structural changes usually do. Permits come from the city or county your home is in, so a house inside Orlando city limits and one in unincorporated Orange County go through different offices. Orange County has an online permits and licenses page where you can see how it works there. When your project requires permits, we handle the process and schedule the inspections as part of the job.
If you live in a community with a homeowners association, read the rules before you pick a start date. Many HOAs around Lake Nona, Winter Garden and Windermere have their own requirements for work hours, dumpsters and contractor parking, and some ask for approval ahead of time.
Week 1: protection and demolition
The first day is usually about protection, not destruction. Floors along the path to the kitchen get covered, dust barriers go up over doorways, and vents in the work area are sealed so that dust does not travel through your AC. Then the old kitchen comes out: uppers, bases, countertops, flooring if it is going, and any walls that are moving.
Demolition feels fast. A kitchen that took decades to wear out can be gone in a couple of days. It is also the first moment anyone can see what is really behind the cabinets. Older Florida kitchens may hide slow leaks under the sink, old wiring, uneven floors or water damage along an exterior wall. If we find something, we show you and give you a clear price for the extra scope before we repair it.
What you do this week: Set up your temporary kitchen, clear out the rooms next to the work area, and keep pets and kids away from the path in and out. We cover the temporary kitchen in detail below.
Week 2: rough-in, framing and inspections
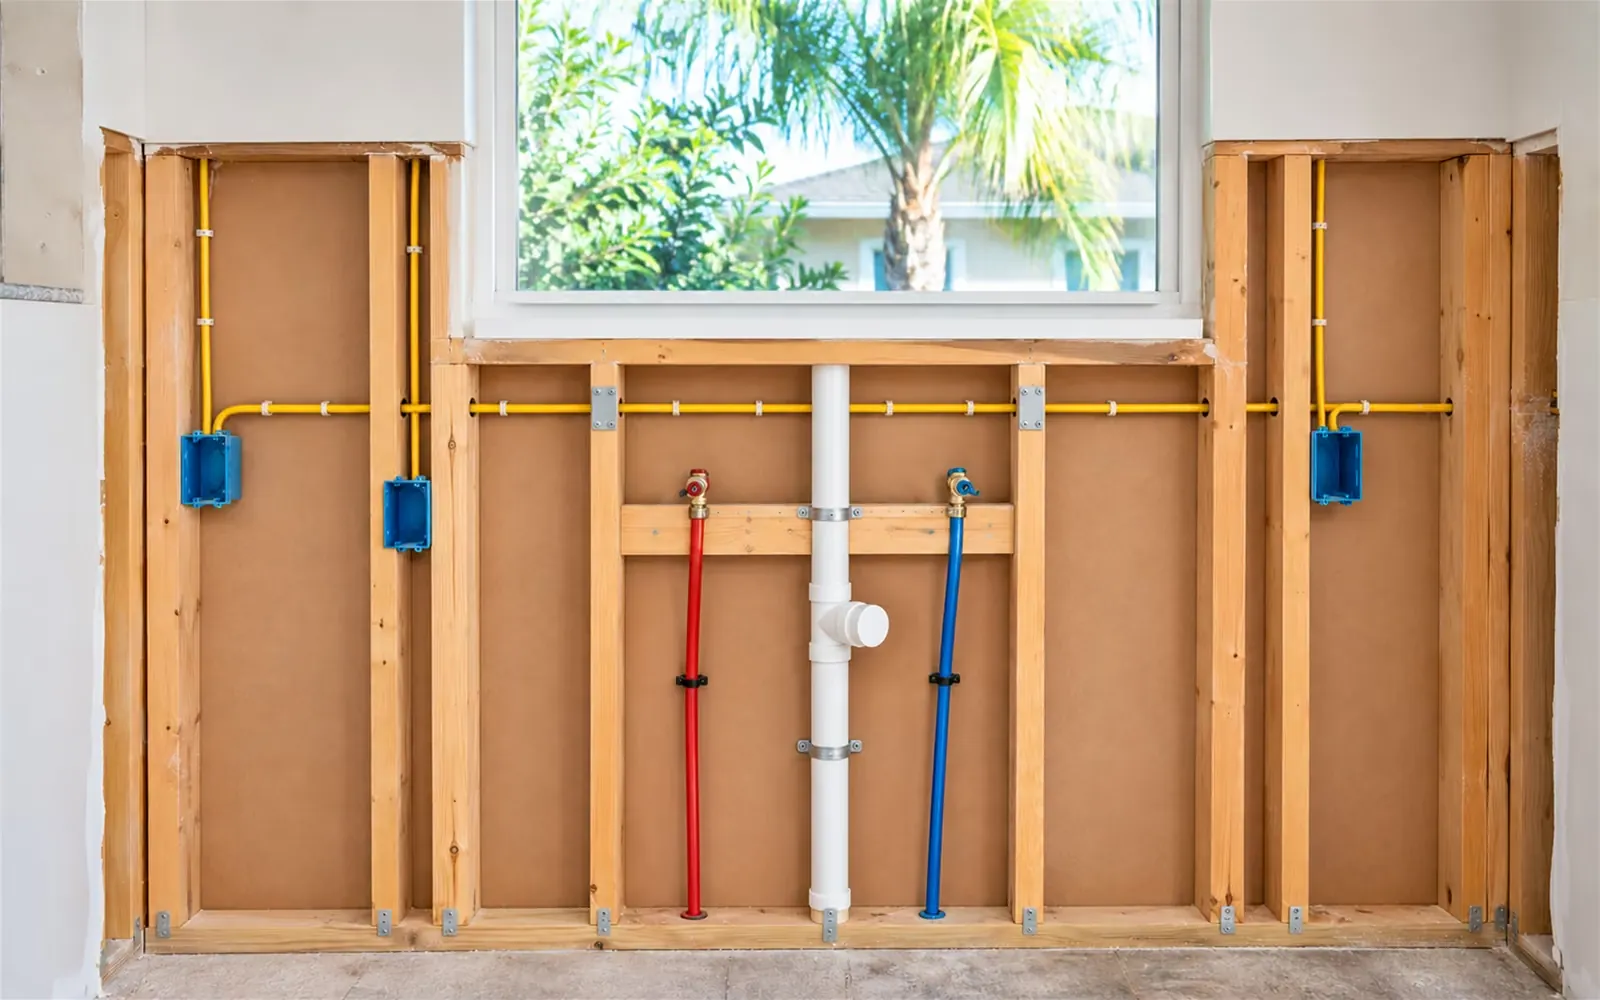
This is the part of the remodel you will never see again, and it is where a kitchen gets its long-term reliability. Any framing changes come first, such as opening a wall or adding support. Next come plumbing lines for the sink, dishwasher and ice maker, then gas if the range needs it, then electrical: dedicated appliance circuits, outlets, under-cabinet lighting and recessed lights.
If the job is permitted, this is when rough inspections usually happen. Walls stay open until the inspector has signed off, so the schedule depends partly on the inspector's calendar. On a one-crew job, a short gap here is normal. It only feels strange because the kitchen looks unfinished and nobody seems to be working.
What you do this week: Walk the rough-in with us before the walls close. Check that outlets, switches and lights are where you expect, and that the island outlet is where you want to plug in a mixer. Moving a box now takes minutes. Moving it after drywall and tile can take days.
Week 3: drywall, paint and flooring
Once the inspections pass, the walls close up. New drywall is hung, taped and finished in several coats, with drying time between them, so this stage takes longer than it looks like it should. A first coat of paint usually goes on now, because painting walls before cabinets go up is faster and cleaner than cutting in around them later.
The order of flooring depends on the material. Tile or vinyl plank usually goes in before cabinets in a full remodel, so the floor runs under the appliances and you can change the layout in the future without a patchwork. In some cases, flooring goes in after cabinets. We settle this during planning, because it affects cabinet height and appliance clearance.
What you do this week: Confirm your paint colors in the actual room, in daylight and at night. Florida's bright afternoon light can make a color look quite different from the swatch on a store shelf.
Week 4: cabinets
This is the week when it starts to look like a kitchen. Uppers often go on first, because it is easier to work above open floor space, then the base cabinets are set, leveled and fastened to each other and to the wall. Older walls and floors are rarely straight, so a lot of careful work goes into shimming and scribing so the doors line up and the tops will sit flat.
Cabinets are one of the most visible details in the room, and also one of the most dependent on everything before them. If you are keeping your layout and replacing only the boxes or doors, our cabinets and backsplash work can often run on a much shorter schedule.
What you do this week: Check doors, drawers and hardware placement before templating. Once the countertop is measured, changes to the base cabinets get complicated.
Excellent company! I am extremely satisfied with the work they did. The team demonstrated professionalism, dedication, attention to detail, and great care throughout every stage of the project. The final result exceeded my expectations!
It's wonderful to find professionals who are truly committed to quality and customer satisfaction. I highly recommend this company and would definitely hire them again!
Week 5: countertop templating and installation
Here is the piece of the timeline that surprises people most. Stone countertops cannot be measured until the base cabinets are in place, because the fabricator needs to template the real, installed cabinets rather than a drawing. Then the slabs are cut and finished at the shop before they come back for installation. That process commonly takes a week or two, and your fabricator will give you a firm date.
Because the sink sits in the countertop, this is usually the stretch when you do not have a working kitchen sink. Some jobs can use a temporary top and a temporary sink connection to shorten the gap. Ask about it in advance if a long stretch without a sink would be hard on your family.
What you do this week: Be home for the template if you can. Seam placement, overhang at the island and the sink reveal are all decided at that appointment, and they are much easier to discuss in person than to fix afterward.
Week 6: backsplash, fixtures and appliances
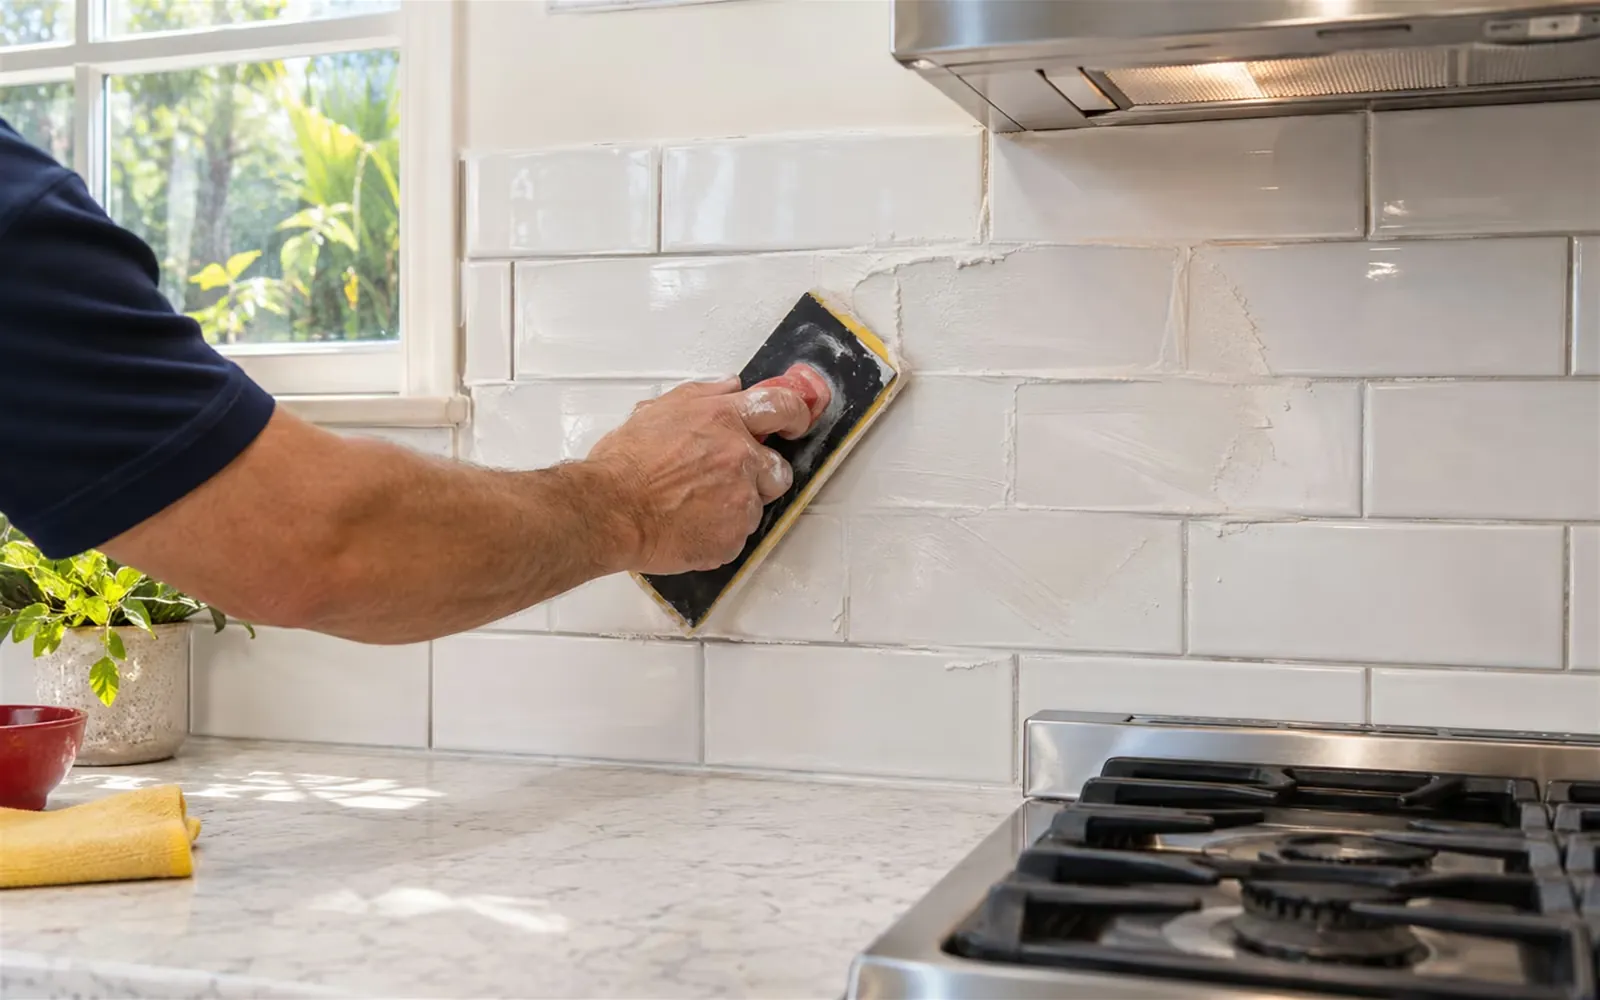
Once the tops are in, the kitchen comes together quickly. Backsplash tile goes on the wall and sits right on the finished countertop, which is why it comes second. The tile needs time to set before grouting, and the grout then needs time to cure. Meanwhile, the sink, faucet, disposal and dishwasher get connected, the range and hood go in, and the fridge rolls into place.
This is often when you get your kitchen back in a practical sense. Water runs, appliances work and you can start cooking again, even with a few small items left to finish.
What you do this week: Run every appliance, open every door and drawer and test the water at each fixture. It is easier to report anything odd while the crew is still on site.
Final days: trim, touch-ups and final walkthrough
The last days are about the details that make a kitchen look finished rather than just installed: crown molding, toe kicks, fillers and panels, hardware, caulk lines, and paint touch-ups where the crew has been working. If the job was permitted, final inspections happen now as well.
Then we walk through the kitchen with you and note anything that needs attention. A short list at this stage is normal and it does not mean something went wrong. What matters is that it gets written down and finished. Do not skip this step or rush it, whoever your contractor is.
How the shorter 1 to 2 week update works
Not every kitchen needs to be taken apart. If your layout works and the plumbing and electrical are in good shape, a focused update can change the whole room in far less time. A typical sequence looks like this:
- Measure and order. Cabinets, tops and tile are chosen and scheduled before anything is touched.
- Remove the old pieces. Cabinets and countertops come out, usually in a day or two, with the rest of your home protected.
- Install the new cabinets. With nothing moving, the new boxes go right back into the same positions.
- Template and install the tops. This remains the part that depends most on the fabricator's schedule.
- Finish. Backsplash, sink, faucet, hardware and trim go in last.
This is often the best value in kitchen work, since you avoid most of the rough-in, inspections and drywall. If your cabinets are structurally sound, you might be able to keep the boxes and change only the doors, which is shorter still. We will happily tell you if a smaller project gets you what you want.
What really causes kitchen remodel delays
In our experience, most delays are not about the crew working slowly. They come from a short list of predictable causes, and nearly all of them can be reduced with planning.
- Materials that arrive late, or arrive wrong. Damaged or incorrect cabinets are the classic example. Have boxes opened and checked on delivery, not on the day they are installed.
- Decisions made late. A faucet chosen in week five can hold up a countertop cut that needed the hole location in week four.
- Changes in the middle of the job. Moving an outlet is easy. Moving a sink after the walls are closed is not. Changes are your right, but each one has a schedule cost, and it should be written down along with its price.
- Hidden damage. Water damage behind an old sink base or along an exterior wall has to be repaired before anything goes on top of it.
- Permits and inspections. Plan review and inspection dates depend on the local office, not on your contractor. Filing early helps.
- Storm season. From June through November, a tropical storm can shut down job sites and shift suppliers and inspectors for days. Build some flexibility into any deadline that falls in those months.
- Too many separate contractors. When the plumber, electrician, cabinet installer and tile setter each run their own calendar, a one-day slip for one of them can turn into a week of waiting for the next. That is why we manage all of it with one crew and one point of contact.
How to live through a kitchen remodel in Florida
Most families stay in their home during a kitchen remodel, and it is very doable with a little preparation. We plan the work so you lose the kitchen for the shortest stretch possible, and we can help you set up a temporary cooking area.
Set up a temporary kitchen
- Choose a spot with an outlet and, ideally, water nearby. A laundry room or dining room works well.
- Move the fridge if you can, or use a second one for the duration.
- Keep a microwave, toaster oven, slow cooker and coffee maker on a folding table.
- Use a plastic bin for one set of dishes, and wash them in a bathroom or laundry sink.
- Stock up on paper plates. This is not the moment to feel guilty about them.
- Use the outdoor grill. One advantage of Florida is that you can cook outside most of the year.
A garage may seem like the obvious place for a temporary kitchen, but in Central Florida it can get extremely hot for most of the year, and it is hard on both you and a fridge. Unless yours is air conditioned, choose an indoor room.
Protect the rest of the house
Dust control is a real concern when you are living in the home. Keep the barriers closed, leave the shoes at the door and ask how the crew will protect your AC system. Change your air filter when demolition and drywall sanding are finished, since your system runs nearly all the time here and it will pull in whatever is in the air. Plan on a thorough cleaning at the end, including on top of door frames and fans.
Plan around your life
Tell your contractor about school schedules, work-from-home days, new babies, pets and guests. If you are hosting Thanksgiving, count backward from the holiday, add some buffer and order early. If you want the kitchen done before seasonal family arrives, start planning several months ahead rather than several weeks.
Five ways to keep your kitchen remodel on schedule
- Get the scope and schedule in writing. Both of you should know what is included, who is doing it and in what order.
- Finish your selections before demolition. If a decision can wait until later, write down exactly when "later" is.
- Have materials on hand before starting. Check boxes on delivery, and keep a spare count of tile for cuts and breakage.
- Agree on one point of contact. One person who knows everything prevents most of the confusion that slows a job down.
- Keep a short weekly check-in. A few minutes each week covering this week's progress, next week's plan and decisions needed will catch problems while they are still small.
The bottom line
A kitchen remodel is predictable when it is planned in the right order. The 4 to 8 weeks on site depend on the decisions made before week one: the layout, the selections, the ordering and the permits. Do those well, and the rest of the schedule tends to take care of itself. Skip them, and no crew in the world can make up the difference.
If you would like a timeline for your own kitchen, have a look at our kitchen remodeling page or send us a note. We work throughout Central Florida, the estimate is free and the schedule is yours to review before anything starts. If your bathroom is next on the list, read our guide to the signs that a bathroom needs a remodel.